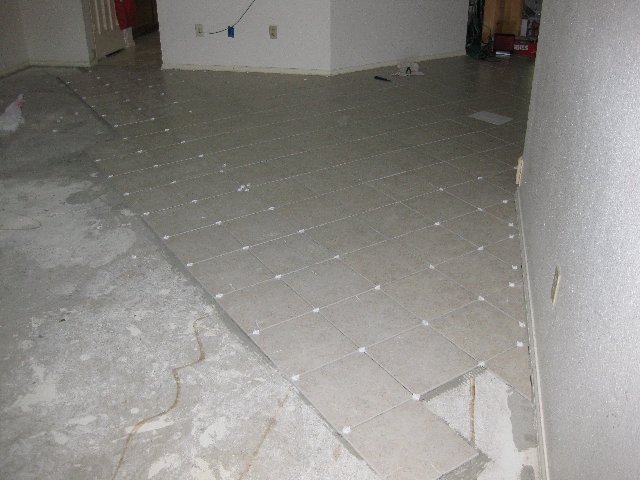
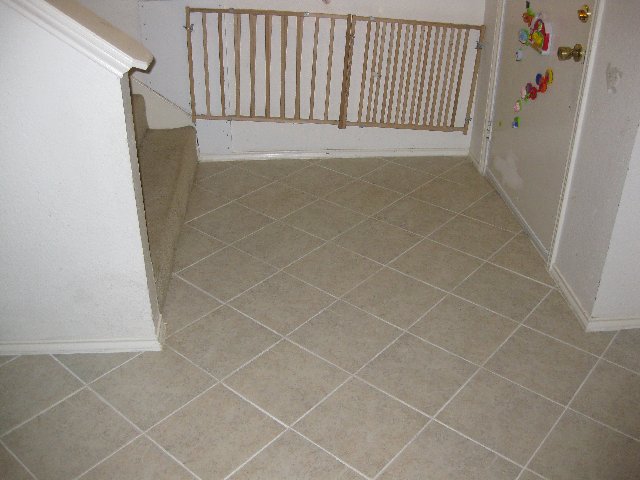
This is the walkway between the den and the front room. The obvious strategy here is to set each row of tile starting in the center, then move out to the walls, and repeat this until the room is done, so that's what I did.
The den is done. Now to move into the front room.
This is the walkway between the den and the front room. The obvious strategy here is to set each row of tile starting in the center, then move out to the walls, and repeat this until the room is done, so that's what I did.
Off I go! See that closet door on the right? We'll be returning there in a bit.

I really wish that the walkway had been maybe two inches narrower. Is it that the walls aren't at a 45-degree angle, or that my tile job is just a hair off by this point? Probably a little of both, but you really are seeing a slight inward bulge toward the back. Kwality home construction!
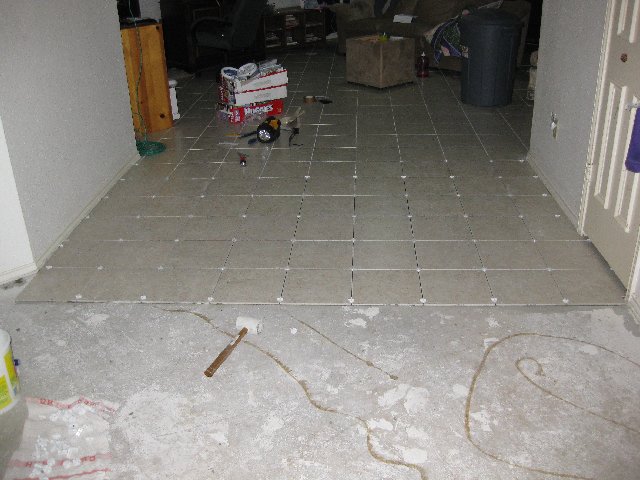
What I'd do is come home from work, mix up a batch of thinset, and then set a bunch of whole tiles until the thinset ran out. It really didn't take all that long. The key thing is to start in the center of the row, and work out to the walls. That way, any errors or irregularities will end up at the wall where they can be compensated for. See that spot in the middle where I had to use four spacers because I couldn't get a single one to fit in there? That's the kind of stuff I'm talking about. You'll also see that the next row lines up just fine.
Once I'd done several rows, I'd measure and cut the pieces that fit along the wall. Initially, my method was to measure one piece, go out and cut it, then come back and measure another. Then I got smart, and would measure all the pieces on that wall, then go cut them all at once. Every piece is different, so I'd number them on the back to keep from getting confused.
Moving right along, here's the room almost done. I kept shoving tools and stuff behind me as I went, and now it's all piled in the corner. I'd also been grouting as I went along so that we'd have a place to put stuff when it needed to be moved out of the way.
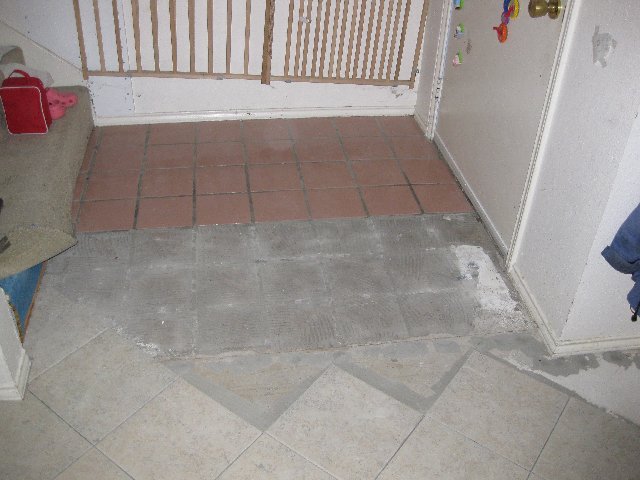
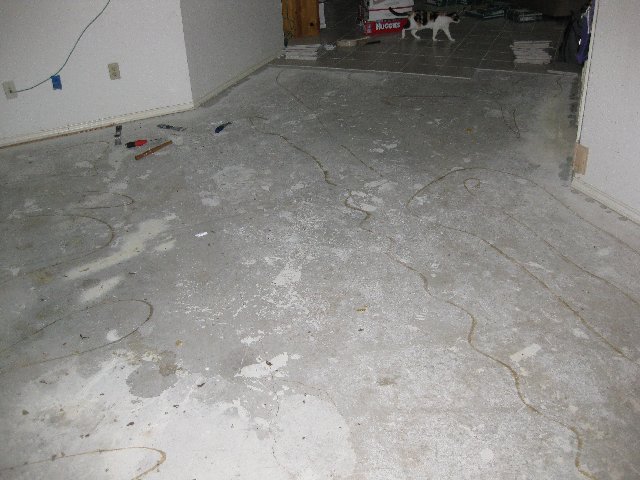
After ripping up the tile around the fireplace and in the bathroom hallway, it really didn't seem right to leave this crappy-looking stuff at the front door. This is where things got a little tricky. With the fireplace and the bathroom, the mortar came up with the tile (mostly). With these, the mortar stuck to the foundation. I spent a few days here with a hammer and chisel.
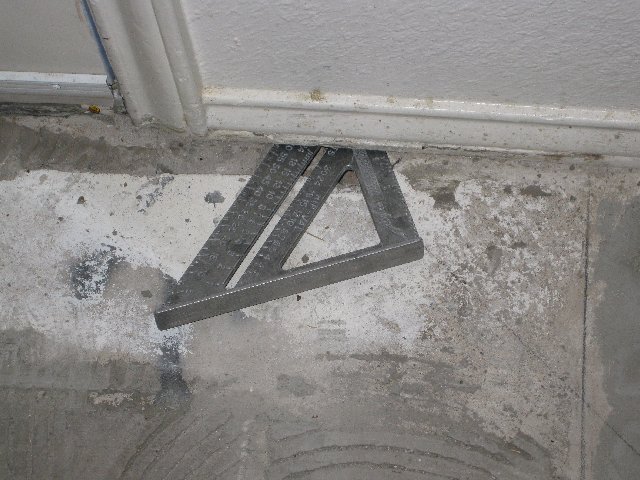
More kwality here. It's hard to tell, but that square (yes, it's called a square even though it's a triangle - stay with me) is poking into a large void on the edge of the foundation. I think the door was supposed to be a few inches further back, or they changed the plans after the foundation was poured. I was chiseling mortar away, expecting to hit foundation concrete, but never did. You can see the same grey cement running all the way under the door to the other side. When I realized what was going on, I stopped chiseling, but by this time I'd fractured it enough so that I had to keep going and get rid of the broken stuff. I filled it back in when I set the tile.
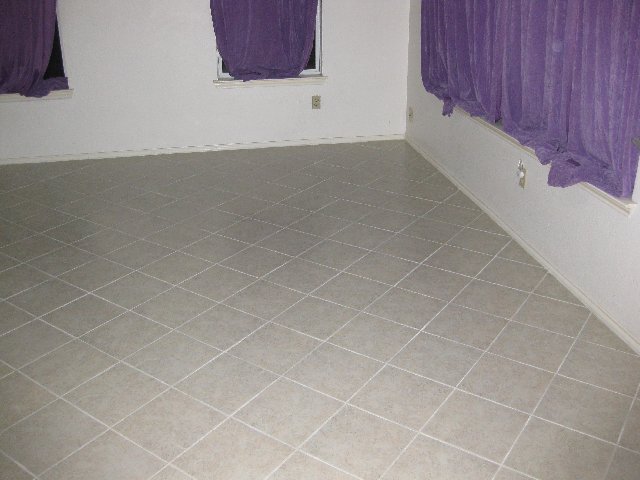
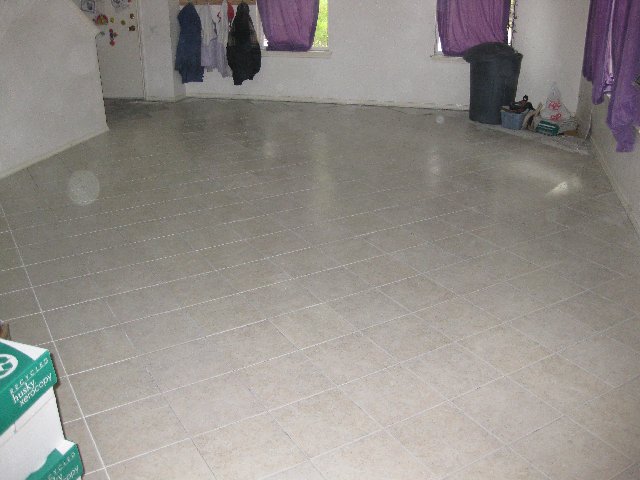
Here's the floor, all grouted. This is that corner that had all that crap piled up in it three pictures ago.
And here's the front entry, all grouted and looking good. At this point, I'm feeling pretty accomplished, just a few small things left.