
This is actually just a dry fit. The tiles are just laying there.
So I have this strip of tile along the edge to cut. And I don't want to waste so much mortar this time. So I had the bright idea of cutting not only the remaining tiles for the floor, but the ones that go around the bathtub, too. That way, if I get it all done, I can start slapping tile onto the wall until I run out of mortar. But then I got to thinking about what it would look like, with the walls and floor the same color. It needs something to accent the colors, and maybe break things up a bit. This calls for more consultation with the Architectural Review Board. But in the meantime, I can lay out the floor.
This is actually just a dry fit. The tiles are just laying there.
We spent some time looking around in some stores for some accent tiles, but they were really expensive. Then we saw some 12 inch square polished marble floor tile that looked nice, but was the wrong size. But I have that nice wet saw, right? So we buy two boxes of that, and I spend a weekend sawing 12 by 12 marble tiles into three 3 3/4 x 12 strips, with a 1/2 inch marble strip left over.
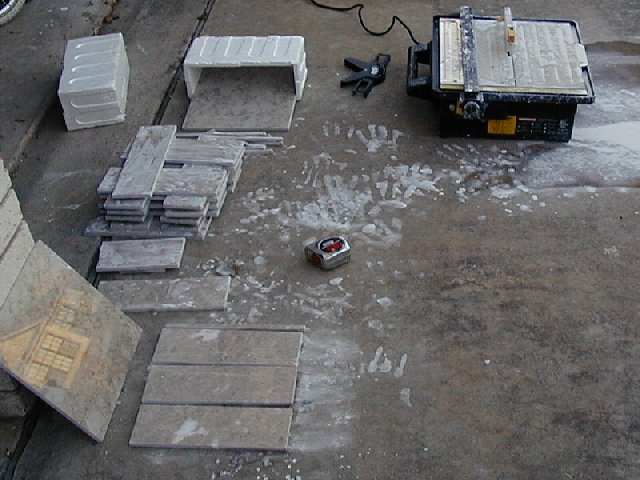
This is my tile cutting work area, aka "driveway". You can see a full-size tile leaning against the brick (reflecting the house across the street), with the cutting results
laid out in front if it, and the pile of already-cut tiles behind them. The handprints are mine, made of rock dust from the saw. It makes a big big mess, but hoses right up.
One thing that I see constantly in tilework that really annoys me is how they handle pipes coming out the wall. Rather than just drill a hole in the tile, they always cut the tile in half and piece it together around the pipe. It's always looked jarring to me, and I've always figured it was done that way because it was faster. I decided to try to do it right, and make holes in the tile. The result?
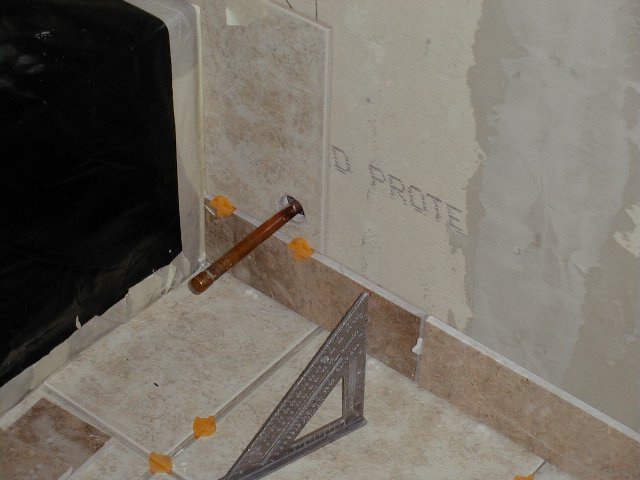
This. Looks really good, I think. But now I know why they don't do this. With the exception of the bathtub plumbing, I spent more time on that one little hole (that will be mostly out of sight between the toilet and the bathtub) than I have on any single thing so far in this room. Tile is HARD. Not difficult-hard, tough-hard. I broke 3 tiles and burned out 4 carbide hole saws in my drill press before I finally managed to get that hole drilled. Fortunately, the remaining pipes in the walls line up with tile joints, so I can cut in from the side of the tile for those. Anyway, once that was done, I was able to cut and fit the tile that goes around the top of the bathtub.
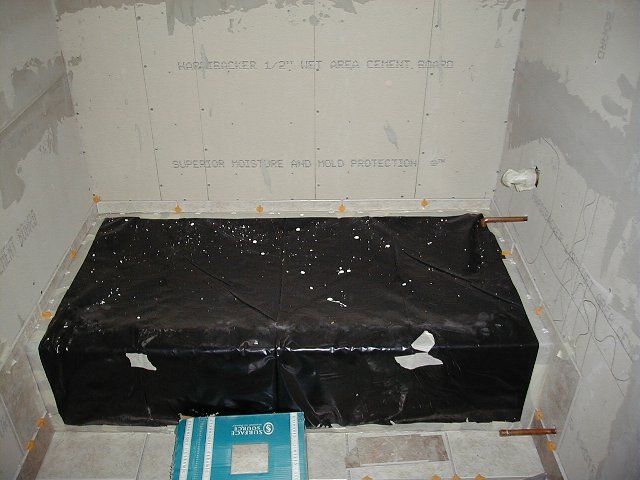
Here's the dry fit around the tub. To my amazement, the measuring I did before laying the floor tile held true, and everything lined up all nice and neat. So I start mortaring the tile down. The floor went really fast. Then I did the marble baseboard, which went slower, because I had to back-butter those (that means put the mortar on the tile, then slap it on the wall, as opposed to put the mortar on the wall and slap on the tile) (ooo, look at me, using the technical terms and everything). Then the tile around the bathtub. By that time, I was getting a bit sore, and the mortar was starting to set up a little in the bucket. And I'd made a more appropriate amount this time, too. So after setting one full-size wall tile to see what it would look like, I called it a day.
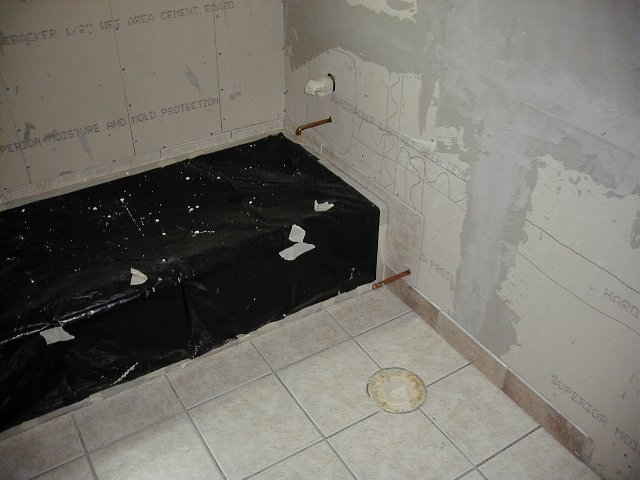
The final result, all mortared in and everything.
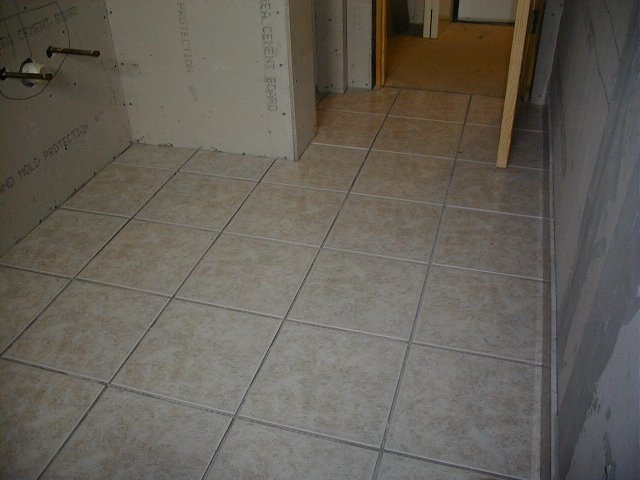
Floor!
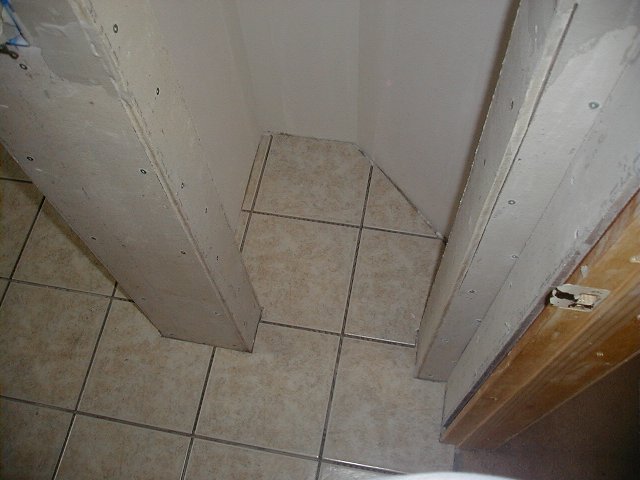
Closet! I am not tiling the walls in here.
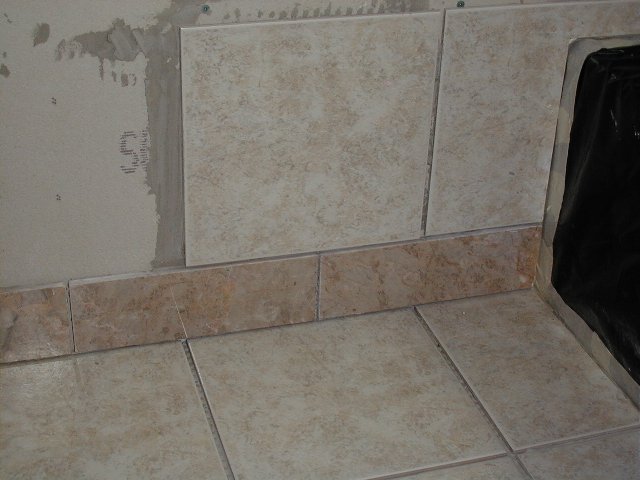
Here's that full-size tile, to show what the marble and tile look like. There was a bit of variation in the marble. Some pieces were more dramatic and veiny, while other had a more beige/brownish tone to them. I used the brownish ones for the baseboard, and will use the veiny ones for wall accents.